
Make Google Business Photos Look Clear Without Making Them Look Fake
Small shops can improve fuzzy storefront, service, and product photos while keeping every public-facing detail honest and believable.
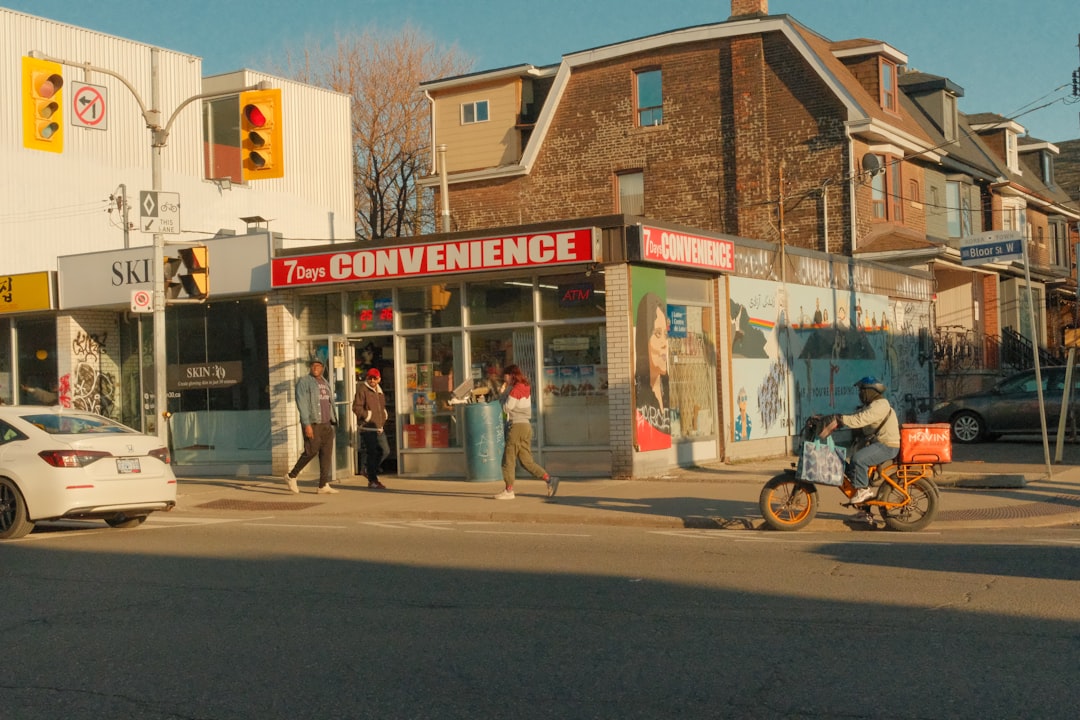
The photo is almost right. The front window looks welcoming, the service counter is clean, the team looks like people a customer would actually want to meet, and the pastry case, repair bench, salon chair, or product shelf is doing its best. One problem: the file is small, soft, and a little tired from being copied through three phones and one group chat.
That is a common small business problem. You may not have time for a full reshoot before updating a Google Business Profile, refreshing a service page, or posting a seasonal offer. An AI upscaler can help make a useful photo clearer, but local business images carry a special responsibility. Customers use them to decide what your place, products, and services really look like. The goal is not to make the shop look like a movie set. The goal is to make the real photo easier to see.
Here is a practical way to use Upscale for business photos without pushing them into fake-looking territory.
Start with the job the photo has to do
Before you upload anything, decide where the image will live. A photo for a local profile has a different job than a homepage hero image, a blog post, a menu page, or a product gallery. Google Business Profile guidance, for example, points businesses toward JPG or PNG photos, reasonable file sizes, clear focus, good lighting, and images that represent reality. That last part matters most. A cleaner photo is helpful. A misleading photo is a customer-service problem waiting to happen.
For a local profile, the photo should answer a simple question: if someone walks in after seeing this image, will the real experience feel familiar? If the answer is yes, the photo is a good candidate. If the answer is, "Well, the corner is actually under construction, the old sign is gone, and that product has not been sold since spring," the fix is not upscaling. The fix is a new photo.
Pick photos that are soft, not broken
Upscaling works best when the original image already contains useful truth. Think of it like giving a good photo a better pair of glasses. It can clarify edges, make a small file more usable, and reduce that mushy look that happens after compression. It cannot honestly recreate details that were never captured.
Good candidates include a storefront photo that is slightly small, a service photo that is a bit compressed, a product shelf where the main shapes are visible, or a team photo that needs enough extra resolution for a website card. Be more cautious with images that contain menu text, price boards, product labels, certificates, faces, or safety details. Those areas should be checked carefully after upscaling because tiny errors can change meaning.
Skip the upscaler and reshoot when the subject is blocked, badly motion-blurred, misleadingly cropped, out of date, or so dark that important details are missing. A camera roll can be a brave little archive, but bravery is not the same as evidence.
Use enough scale, then stop chasing huge files
It is tempting to choose the biggest upscale option because bigger sounds better. For public business photos, bigger is only useful when it matches the destination. If a profile or website card will display the image at a modest size, a giant export may slow down the page without helping a customer see anything meaningful.
A practical workflow is to keep two versions. First, save the improved master so you have a cleaner source to return to later. Second, export a destination copy for the exact place you are using it. A website hero image, a square profile-style photo, and a small service-card thumbnail do not need the same pixel dimensions. Web performance guidance from Google and web.dev says images often make up a large share of page weight, so serving properly sized images matters. Sharp is good. Sharp and needlessly heavy is the photo equivalent of bringing a couch to a picnic.
Run the honesty check before you publish
After upscaling, put the original and improved image side by side. Do not judge only by the satisfying zoomed-in preview. Look at the parts a customer would care about.
- Storefronts: Are the sign, door, windows, hours, and surrounding entrance still accurate?
- Products: Do labels, colors, materials, and visible features still match the real item?
- Services: Does the photo show the actual room, tool, vehicle, chair, counter, or workspace customers will recognize?
- People: Do faces look natural, or did smoothing make skin, eyes, or hair look strange?
- Menus and signs: Are small words still readable and correct, or did the image invent odd letters?
This check is especially important for photos that will appear in local discovery, ads, or service pages. Upscaling should make the photo clearer, not more dramatic than the business itself. If the improved image changes the promise, use a different source.
Keep edits calm after upscaling
The fastest way to make a business photo look fake is to stack too many fixes. Upscale the image, then be gentle with sharpening, contrast, saturation, background cleanup, and filters. A bakery counter can look warmer without turning every croissant radioactive. A repair shop can look cleaner without making the tools look like plastic toys. A salon chair can look polished without erasing the texture that makes the room feel real.
If you need to adjust brightness or crop, do it with the final use in mind. A local profile cover might need a wider crop so the storefront does not feel cramped. A website service image might need room for surrounding page layout. A product shelf photo might need a cleaner crop around the subject, but not so tight that customers lose context.
Export a version that fits the web
For most photo-like business images, JPG is still a practical choice. PNG can be useful for graphics, screenshots, logos, or images where crisp edges matter. Modern formats such as WebP can reduce file size well on many websites, depending on your publishing system. The important point is to export for the destination instead of uploading one enormous master everywhere.
Try this simple export habit:
- Keep the upscaled master in a folder you can find later.
- Create a smaller copy for each actual use, such as local profile, homepage, service page, or blog post.
- Compress the final copy enough to load quickly, then view it on a phone and laptop.
- Check text, signs, product labels, and faces after compression, not before.
If the image appears on your own website, give it a helpful filename and natural alt text. Search guidance favors descriptive context, and alt text also helps people who rely on assistive technology. Write what the image actually shows: "bakery owner arranging fresh bread on the front counter" is useful. Stuffing a dozen keywords into the alt text is not. It also reads like the image is wearing a sandwich board and shouting at robots.
A small business example
Imagine a neighborhood bike repair shop has an older photo of its tune-up bench. The bench is real, the tools are current, and the lighting is fine, but the photo is only large enough for a small social post. Upscaling can make it useful for a service page. After improving it, the owner checks the wall sign, tool shapes, bike frame, and price card. The sign still reads correctly, the bike does not gain mysterious extra cables, and the workspace looks like the real shop. Good candidate.
Now imagine the same shop has a blurry photo of a handwritten repair menu. The original is small, the prices are hard to read, and the image has compression blocks around the numbers. Upscaling might make the paper look cleaner, but it could also make the text more confidently wrong. Better choice: recreate the menu as real website text, then use a clean photo of the counter as a supporting image.
The pre-publish checklist
Before a clearer business photo goes live, ask these questions:
- Does the image still represent the real place, product, service, or person?
- Is the source photo recent enough to be fair to customers?
- Did upscaling improve clarity without inventing important details?
- Are signs, labels, menus, faces, and product colors still believable?
- Is the exported copy sized for the destination instead of being huge by default?
- Does the website version have a descriptive filename and sensible alt text?
If the photo passes those checks, it is probably ready. Start with the best honest source image you have, improve it with Upscale, then export a version that is clear, fast, and true to the business. That combination is more useful than a glossy fantasy. Customers came to see what you actually do. Help them see it better.